Plating Solex Parts (4 Dec 21)
With the body on my plan is to run the engine like I did on the chassis so I wanted to clean up some parts. Here I started plating some solex parts.
Zinc Plated (4 dec 21)
Zinc plating carb pieces prior to color dip.

Cable Stand (4 Dec 21)
Solex throttle cable stand plated. The better the shine on the part the better the Dichromate will color it..
Back on Car (11 Dec 21)
You can see the hues of colors that are on normal Cad plated items. This copy method looks pretty close.
CAme out Great (11 Dec 21 )
U20 fuel clip. JT sells these in a normal zinc color. I just stripped it with acid and replated to match my other pieces.
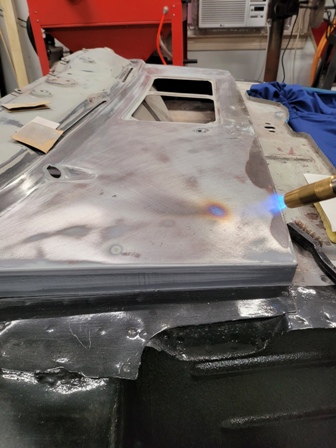
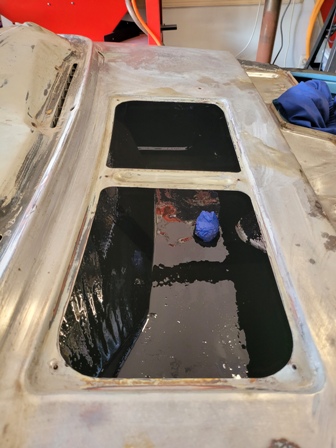
Cowl Damage (11 Dec 21)
I have some damage on my cowl area and the area oil cans. I did some quick shrinking to tighten and flatten the area..
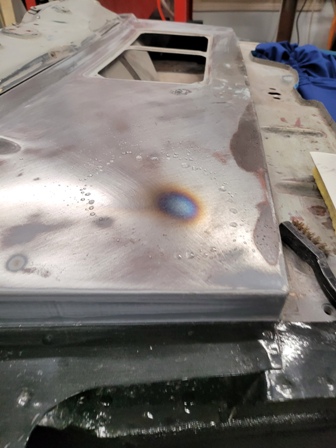
Quick Quench (11 Dec 21)
Quenching the spot to shrink the metal back to it's original shape.
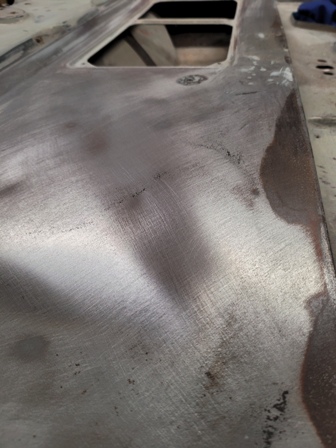
Final Grind (11 Dec 21)
A quick grind and you see the area is flat again..
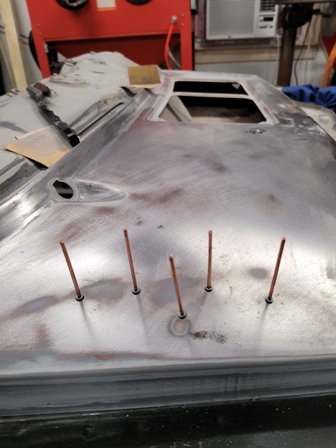
Welded Studs (11 Dec 21)
The areas has a few low spots and I can't get a dolly behind it in a solid manner so I used a few post to pull them up. The area isn't perfect, but it will get a coat of filler to clean it up.
POR 15 (11 Dec 21)
I POR-15'ed the inside drain area.
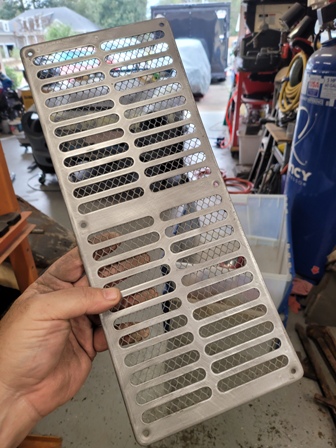
Forgot to clean this
The cowl vent went through the blast cabinet as there was no way to sand the back screen.
.
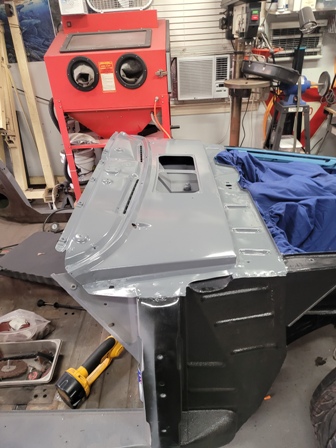
Epoxy Area (12 Dec 21)
Shot some epoxy over rhe cowl area.
More Work to Do (12 Dec 21)
With the primer on you can see the damage still left on the pass side cowl area. It will be easier to fix then many other areas I've had to do.
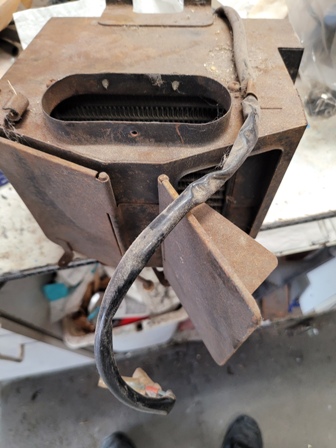
Old Heater Box (18 Dec 21)
So I had the engine running on the chassis, but to run it in the car I want to hook up all of the water hoses for the last time. To complete this I will need the heater core connecetd. I fixed a heater years ago, but I pulled another off the shelf and started again..
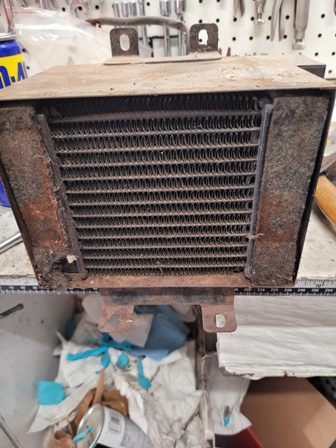

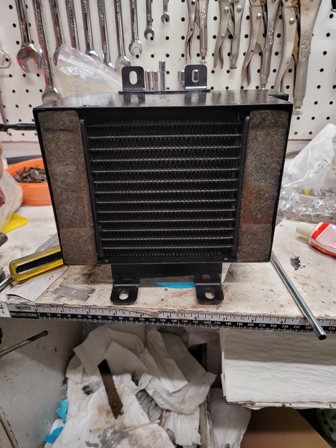
In Better Shape Than Most (18 Dec 21)
Pretty solid on the inside. Many times the foam insulation gets pretty bad. I bought Deans full heater box rebuild kit to finish this.
.
Good Old Blast Cabinet (18 Dec 21)
Heater box out of the blast cabinet.
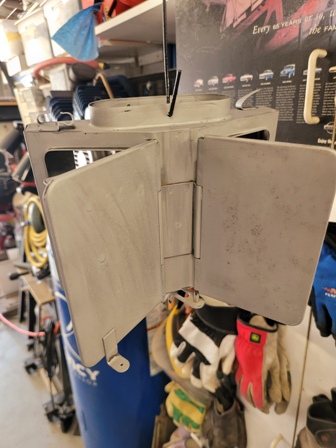
Doors Cleaned (18 Dec 21)
Doors out of the blast cabinet.
.
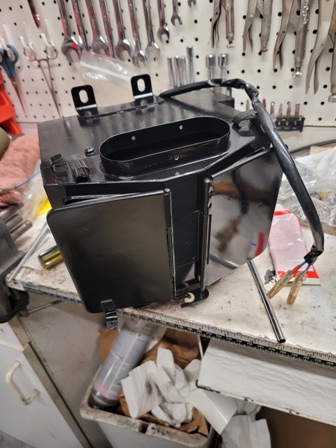
Painted (19 Dec 21)
Box painted and installing the ballist inside the box.
Assembling (19 Dec 21)
I tested and painted the core and cleaned all of the insulation.
Complete (19 Dec 21)
Ready to install.

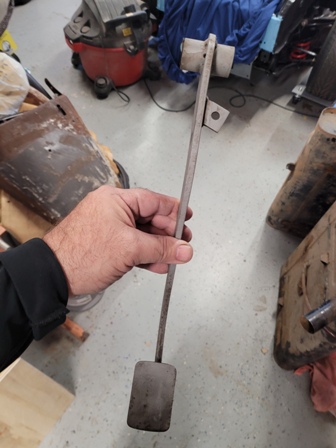
Restore All Pedals (19 Dec 21)
Knocking out the pedals. I have new pads and the brake cushion from Dean as well.
.
Cleaned (19 Dec 21)
Cleaned in blast cabinet.

Ready to Go (20 Dec 21)
Painted and installed all new rubber.
.
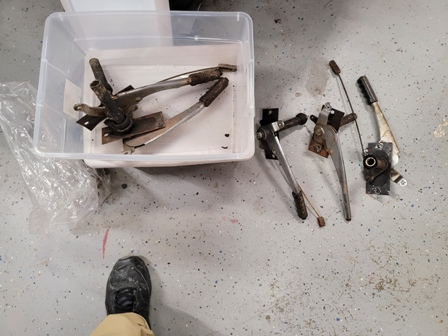
Picking a Good One (20 Dec 21)
So to do the heater box I will need to finish the trans tunnel so I figured I would get the E brake done while Im there. I dug out the box and looked for the best one.
Pretty Dirty and Stiff (20 Dec 21)
Although not visable, I decided to disassemble and clean the entire e brake system.
.
Easy to Clean (20 Dec 21)
Cleaning, polishing, and painting all of the parts prior to assembly.
Another Complete Piece (20 Dec 21)
Assembled and ready to install.
.
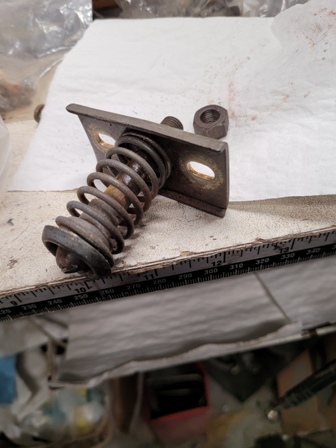
Mid Section (20 Dec 21)
The mid point linkage was super crusty and really needed service as the tension adjustment connects from this part..
.

Fully Blasted (20 Dec 21)
Love the blast cabinet...makes quick work of pieces like these.
.
Last E Brake Item Ready (20 Dec 21)
Ready to install!
Big Step (21 Dec 21)
Since I'm home for the Holidays and have a few straight days I decided I need to do the interior to install the heater core. I sanded the entire interior and epoxied the whole thing..
.
Front of Cab (21 Dec 21)
Entire interior in epoxy.
Seam Sealer (22 Dec 21)
Seam sealed the interior.
.
Same to Footwells (22 Dec 21)
All sealed up and all threads and holes covered for next step.


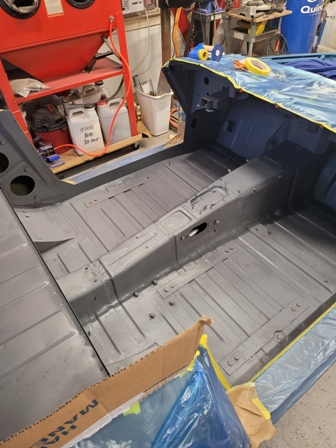
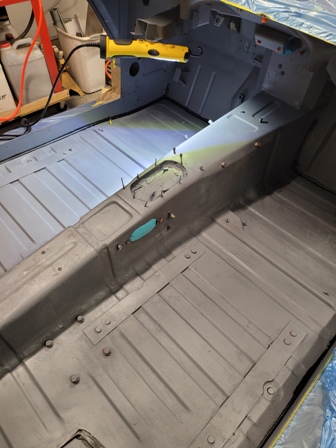
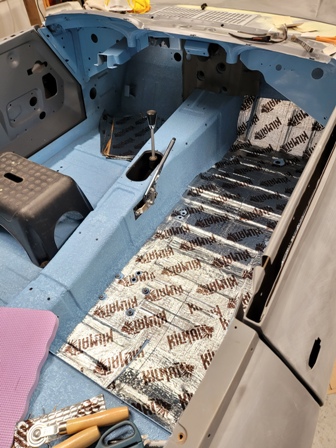
Sound and Heat Barrier (23 Dec 21)
Sprayed entire interior with a ceramic sound and heat barrier. I did not spray certain panels that may show paint later.
.
Under Dash Area (23 Dec 21)
Ceramic heat and sound barrier.
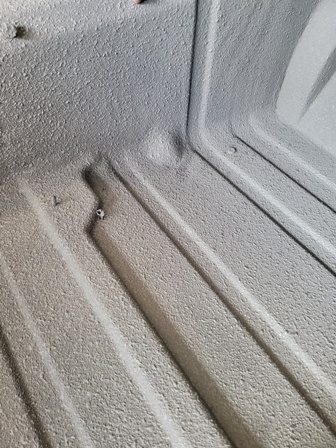

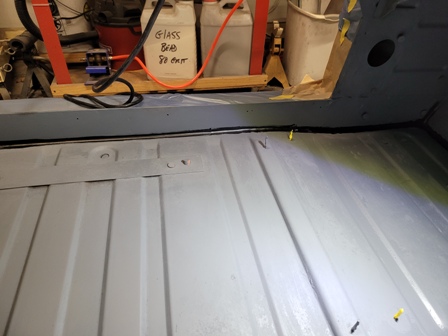
Close up Texture (23 Dec 21)
Close up of coating. It did a great job of coverage and just like the undercarriage I covered...it will outlast me and help protect the floor.
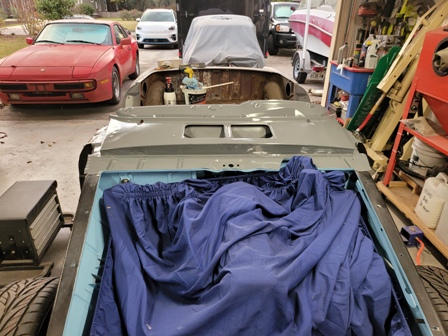
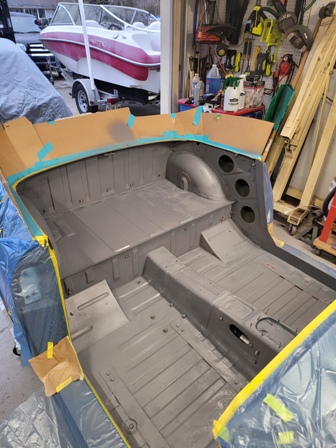
Blue on the Inside (28 Dec 21)
Sora blue in the inside.
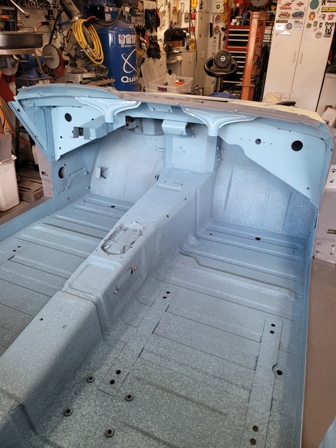
Interior Color Complete (28 Dec 21)
Hard to see in the photos, but the door surround and the dash area are glossy with no undercoat. I wanted them smooth and flat for glueing the vinyl later.
.
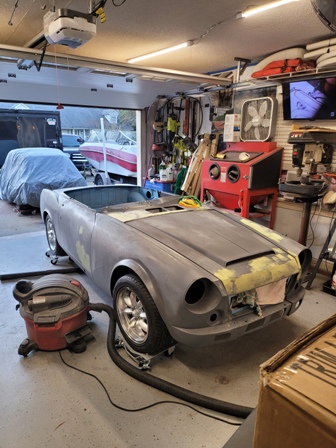
Just wanted to see it whole (2 Jan 22)
I put all of the panels back on just for a look. I feel so much closer to an end!
Sound Mat (15 Jan 22)
Even though I used a spray system I put a thin coat of sound deadening for added protection and to smooth out the flooring.
.
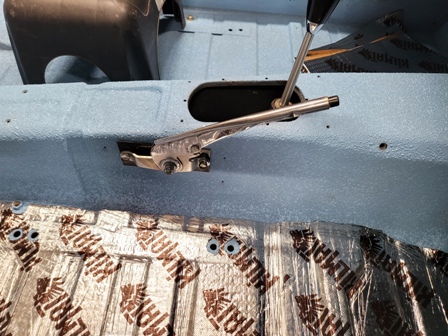
E Brake In (15 Jan 22)
E brake full sytem is connected from handle through rear connectors.
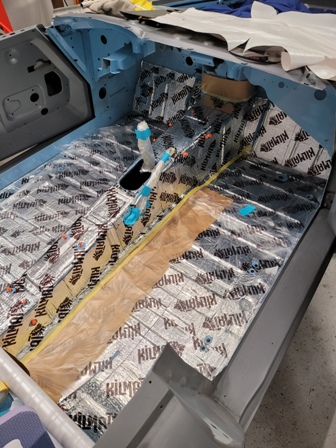
Prepping Trans Tunnel (16 Jan 22)
To do the tunnel carpet, I taped up the tunnel and sprayed glue.
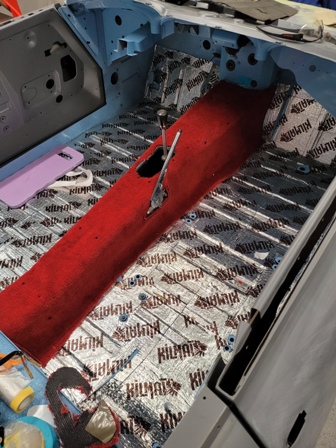
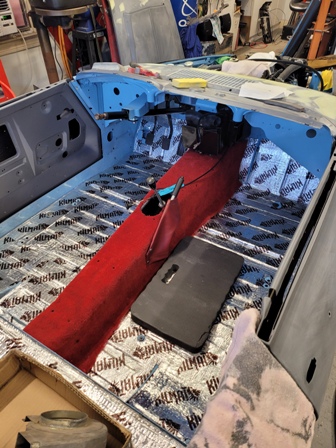
Red Interior (16 Jan 22)
Trans tunnel carpet in.

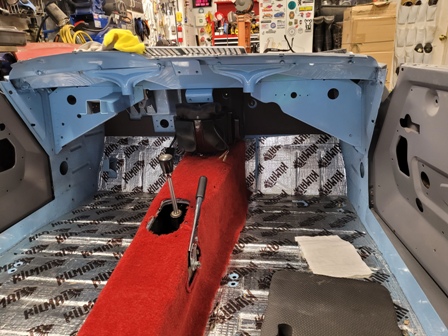
Making Holes (16 Jan 22)
I made a basic paper template of where all of the holes are and then used a long pin to find the holes under the carpet. Once identified I used a soldering iron to burn through the carpet and create holes for bolt attachment.
.
Heater box in! (23 Jan 22)
Finally! With all of those steps done I was able to install the heater.
Pedals and Steering (29 Jan 22)
Installed the pedals and steering shaft.
.
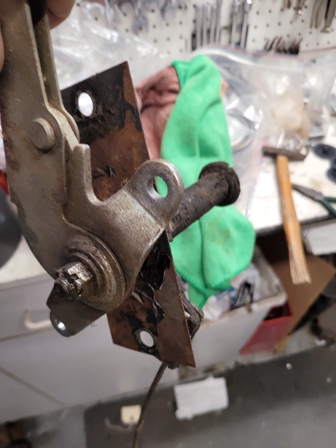
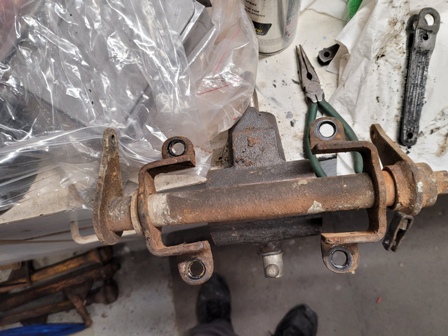
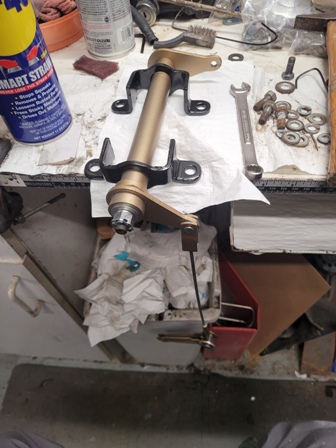
Hood Pin (29 Jan 22)
To complete the hood repair, I need the release hardware to adjust the hood height. I'll disassemble it all and plate it.


Hood Release (29 Jan 22)
Cleaned with the blast cabinet.
.
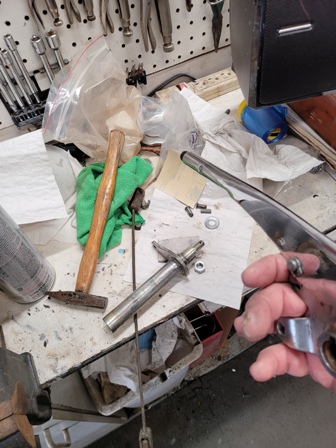
Very Clean (29 Jan 22)
After I wire brush the parts for a quick buff I dip in acid to remove the old plating.
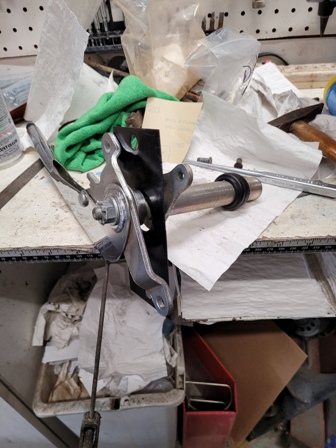
Degrease (29 Jan 22)
Final prep step is final cleaning in a degreaser. The parts are all ready on their hanging wires so I won't touch the part again during the plating steps.
.
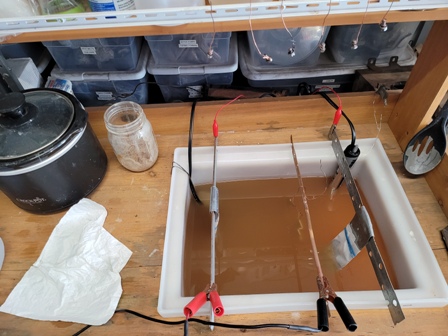
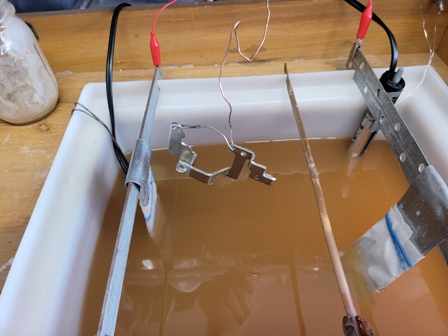
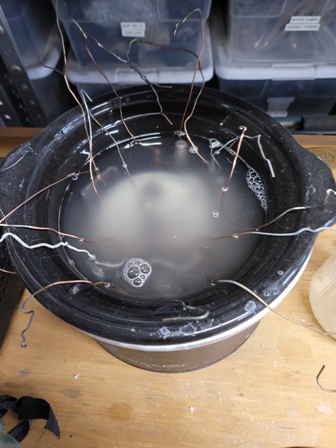
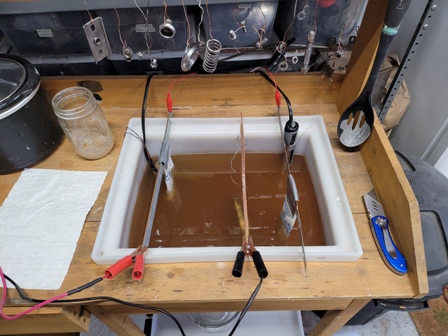
Plating Station (29 Jan 22)
Into the tank.
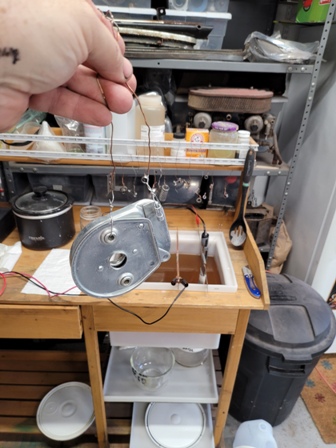

Direct from plating tank (29 Jan 22)
Hood release plated and going in for a quick acid pickle dip to bring out the shine.
.
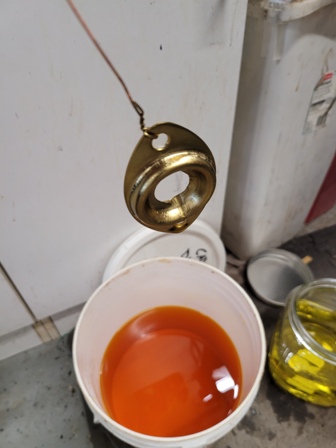
Cadmium Dichromate (29 Jan 22)
After a quick rinse in distilled water I gently dip in the dichromate for that nice yellow cad color.
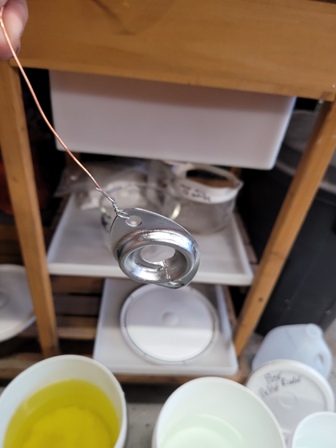
Post Pickle Dip (29 Jan 22)
Hood receiver after the pickle step.
.
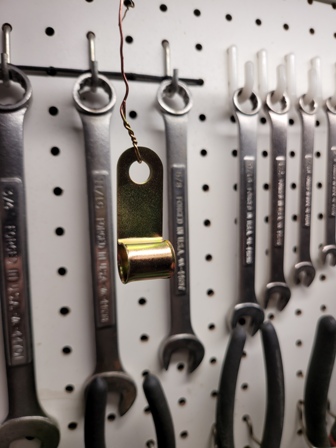
Dipped (29 Jan 22)
Same color dip as before.

Drying (29 Jan 22)
Plated parts are hung for a few days so the coating can harden.
.
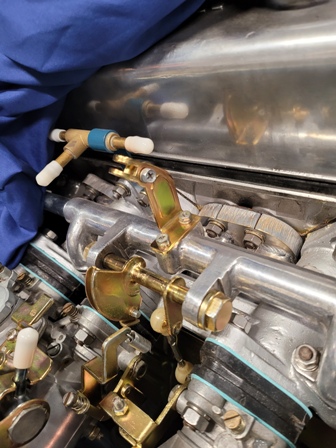
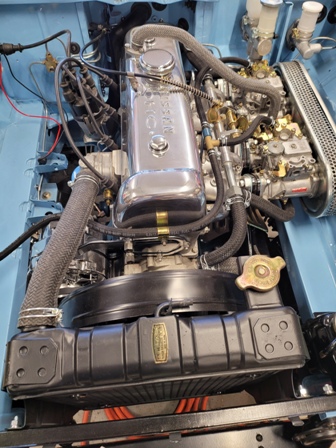
Hoses (30 Jan 22)
With the heater core hooked up I was able to connect all of the heater hoses and the radiator and it's hoses. JT sells the vintage hose and clamp sets that I used. Next step is to get some fuel lines run to a gas can and get some temp gauges installed and I can start the engine again. Really, I could put clutch and brake fluid in and probably drive the car.